 Blog Virtualizacion Tu Blog de Virtualización en Español. Maquinas Virtuales (El Blog de Negu) en castellano. Blog informática vExpert Raul Unzue

Artículos relacionados
Como se lo pasa nuestro amigo Arie jeje!!

FUENTE: http://everythingn9.com/project-n10-part-1/
PROYECTO ORIGEN: http://talk.maemo.org/showthread.php?t=84025
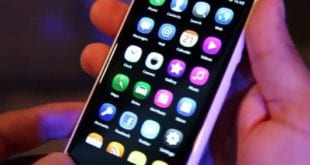
So there I was, thinking how to get my hands on the N950 some time ago… but then I thought: How will other people will get the N950? Everyone should be able to get the N950…!
All this thinking have made me do something about this problem. A little “case-mod” can do miracles 
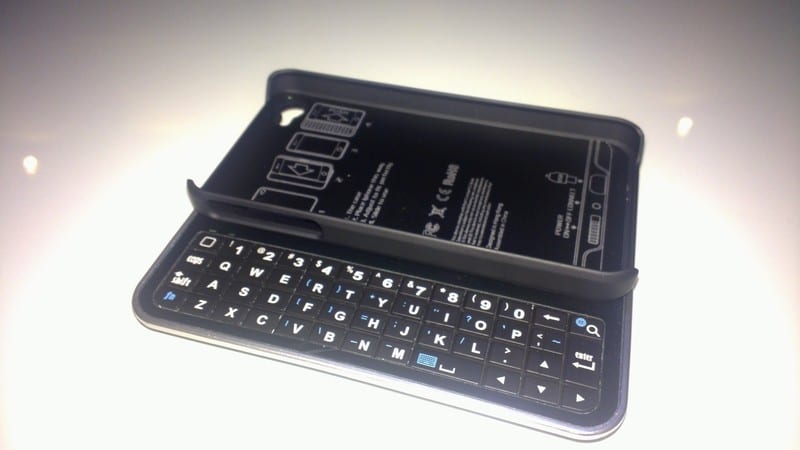
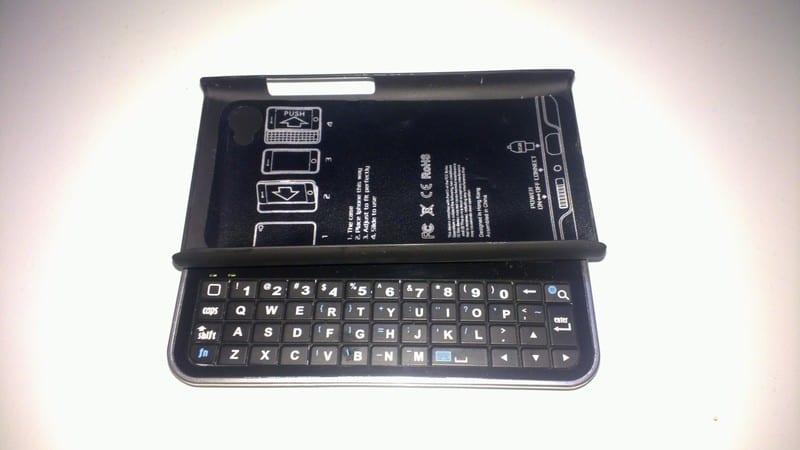
I bought a cheap iPhone bluetooth slide-case, and a cheap N9 case on eBay.
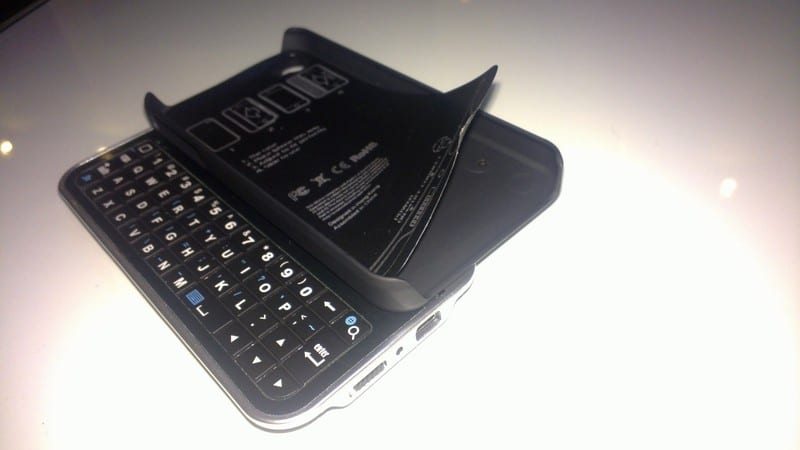
I unscrewed the case to get rid of the iPhone case, to just have the bluetooth keyboard with the slider.
Then, I just made holes in the cheap N9-case and screwed the slider on it.
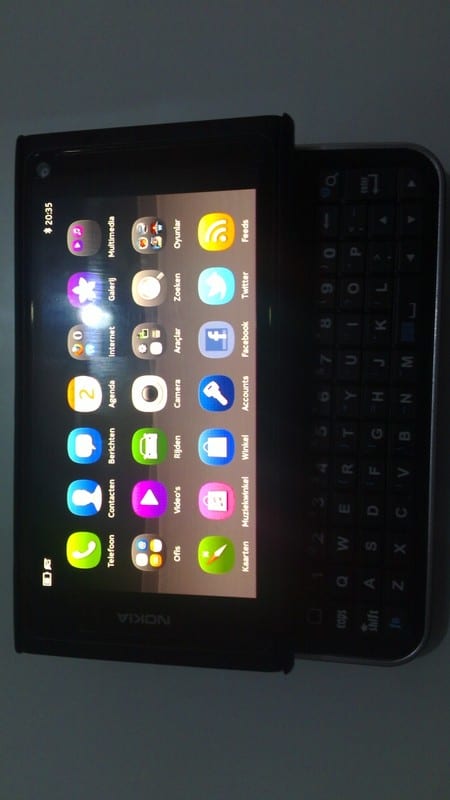
Turn on the device, pair them and the result: N9 with a keyboard!
The only drawback is that there is no Ctrl button. I hope someone can help on this project to add a ctrl key for this bluetooth keyboard. There is a “menu” button which doesn’t do anything on the N9… Maybe we can bind this key to act as a Ctrl key?
I made some pictures on how I did this, I’ll upload them today to share this idea with everybody.
Bluetooth Keyboard:
http://www.ebay.com/itm/ws/eBayISAPI…m=290691737517
N9 hardcase:
http://www.ebay.nl/itm/ws/eBayISAPI….m=130589350679
Edit:
Here are the pictures and the YouTube video:
http://www.youtube.com/watch?v=V-9GuzIT8_8
Picture 1:
The bluetooth keyboard itself in it’s original state
| Click this bar to view the full image. |
Picture 2:
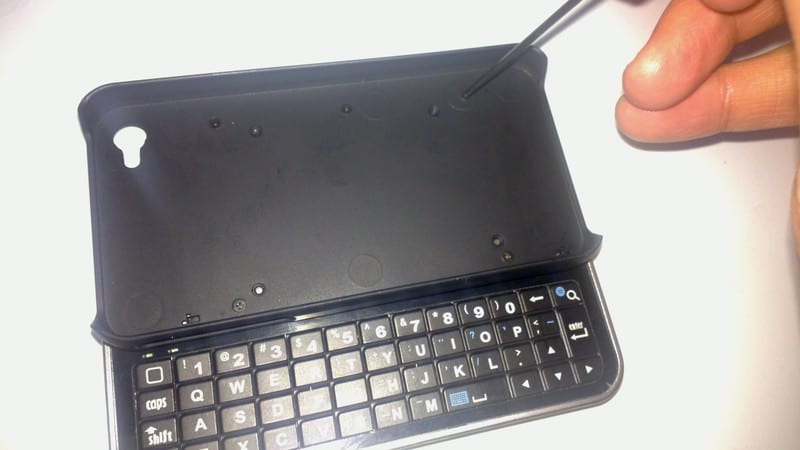
Remove the sticker from the case to get to the screws
| Click this bar to view the full image. |
Picture 3:
| Click this bar to view the full image. |
Picture 4:
Unscrew the screws
| Click this bar to view the full image. |
Picture 5:
| Click this bar to view the full image. |
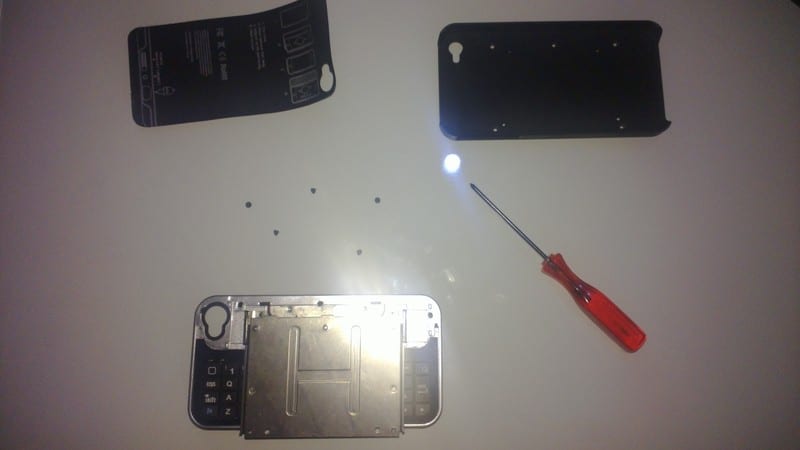
Picture 6:
| Click this bar to view the full image. |
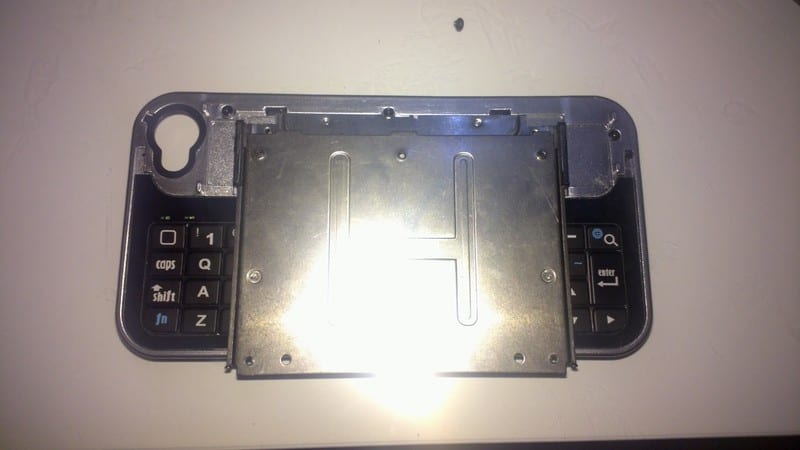
Picture 7:
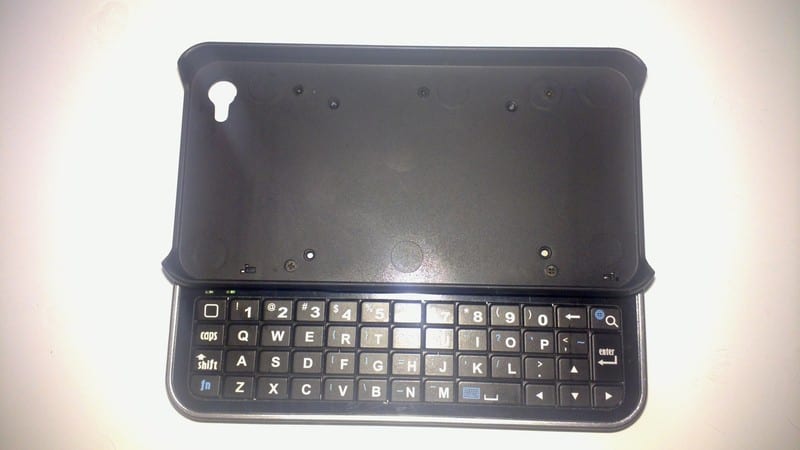
Makes holes on top of the N9 case and place it on the bluetooth keyboard and screw the screws back
| Click this bar to view the full image. |
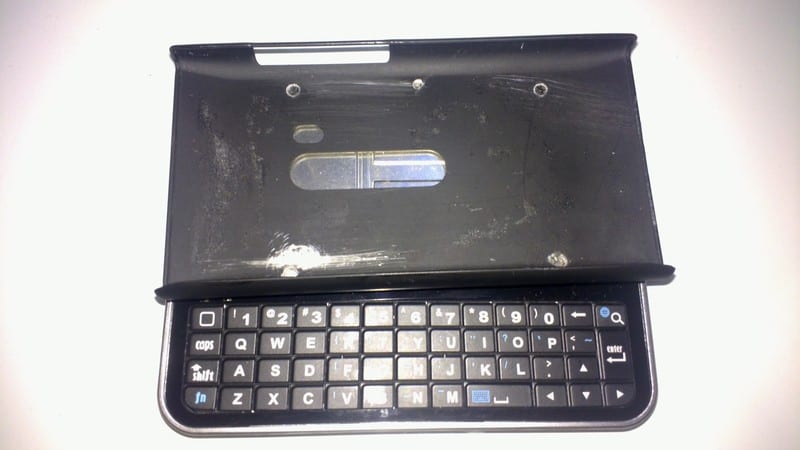
Picture 8:
Place the sticker back on top of the N9 case to prevent scratches on your N9
| Click this bar to view the full image. |
Picture 9:
Result! (This is an early build, that’s why it’s not perfectly centered in the middel)
| Click this bar to view the full image. |
¿Te ha gustado la entrada SÍGUENOS EN TWITTER O INVITANOS A UN CAFE?