
Artículos relacionados

Instalar monitorización Zabbix en Centos 8
Hoy os voy a mostrar como instalar un sistema de monitorización en linux. En este caso voy a usar Zabbix.
¿Qué es Zabbix?
Zabbix es un sistema de monitorización basado en una arquitectura Servidor / Cliente. ¿Esto qué significa? Que para monitorizar ciertos sistemas, como Windows o Linux, tendremos que instalar un cliente en el recurso a monitorizar y ese cliente enviará los datos a un servidor que los recogerá en base de datos donde son tratados.
Esto no implica que no podamos recoger datos de sistemas que manden trazas SNMP o IPMI entre otros.
Zabbix es un sistema de monitoreo con licencia GPL. Aunque fue desarrollado en 1998, la primera versión estable se liberó a la comunidad en 2004. Hoy en día se ha profesionalizado y se desarrolla principalmente como empresa.
Dispone de un frontend desarrollado en PHP y un backend desarrollado en C. Y puede trabajar sobre diferentes plataformas de bases de datos como Oracle, MySQL, PostgreSQL, DB2 o SQLite.
Funcionalidades principales Zabbix
- Alto rendimiento y alta capacidad (posibilidad de monitorizar cientos de miles de dispositivos)
- Auto descubrimiento de servidores y dispositivos de red
- Monitorización distribuida y una administración web centralizada
- Agentes nativos en múltiples plataformas
- Posibilidad de monitorización sin agentes
- Monitorización JMX
- Monitorización Web
- Configuración de permisos por usuarios y grupos
- Métricas SLA y ITIL
- Sistema flexible de notificación de eventos (Email, XMPP, etc)
ENLACE PROYECTO: https://www.zabbix.com/

Instalación dependencias Zabbix Server en linux Centos 8
Lo primero que haremos es instalar Apache con el siguiente comando:
[root@zabbix01 ~]# dnf -y install @httpd
Habilitamos el servidor Apache:
[root@zabbix01 ~]# systemctl enable --now httpd

Created symlink /etc/systemd/system/multi-user.target.wants/httpd.service → /usr/lib/systemd/system/httpd.service.
Comprobamos el estado del servidor web:
[root@zabbix01 ~]# systemctl status httpd

● httpd.service - The Apache HTTP Server

Loaded: loaded (/usr/lib/systemd/system/httpd.service; enabled; vendor prese>

Active: active (running) since Wed 2019-12-18 21:50:00 CET; 1min 11s ago

Docs: man:httpd.service(8)

Main PID: 11487 (httpd)

Status: "Running, listening on: port 443, port 80"

Tasks: 213 (limit: 24012)

Memory: 28.5M

CGroup: /system.slice/httpd.service

├─11487 /usr/sbin/httpd -DFOREGROUND

├─11488 /usr/sbin/httpd -DFOREGROUND

├─11489 /usr/sbin/httpd -DFOREGROUND

├─11490 /usr/sbin/httpd -DFOREGROUND

└─11491 /usr/sbin/httpd -DFOREGROUND
dic 18 21:50:00 zabbix01.negu.local systemd[1]: Starting The Apache HTTP Server>

dic 18 21:50:00 zabbix01.negu.local httpd[11487]: Server configured, listening >

dic 18 21:50:00 zabbix01.negu.local systemd[1]: Started The Apache HTTP Server.
Yo deshabilito Selinux para estos primeros pasos:
[root@zabbix01 ~]# setenforce 0

[root@zabbix01 ~]# sed -i 's/^SELINUX=.*/SELINUX=permissive/g' /etc/selinux/config

[root@zabbix01 ~]# cat /etc/selinux/config | grep SELINUX=

# SELINUX= can take one of these three values:

SELINUX=permissive
Instalamos dependencias, en este caso PHP:
[root@zabbix01 ~]# dnf module -y install php:7.2

[root@zabbix01 ~]# dnf -y install php php-pear php-cgi php-common php-mbstring php-snmp php-gd php-xml php-mysqlnd php-gettext php-bcmath php-json php-ldap
Validamos:
[root@zabbix01 ~]# php -v

PHP 7.2.11 (cli) (built: Oct  9 2018 15:09:36) ( NTS )

Copyright (c) 1997-2018 The PHP Group

Zend Engine v3.2.0, Copyright (c) 1998-2018 Zend Technologies
Y habilitamos:
[root@zabbix01 ~]# systemctl enable --now php-fpm

Created symlink /etc/systemd/system/multi-user.target.wants/php-fpm.service → /usr/lib/systemd/system/php-fpm.service.
Comprobamos el estado del servicio:
[root@zabbix01 ~]# systemctl status php-fpm

● php-fpm.service - The PHP FastCGI Process Manager

Loaded: loaded (/usr/lib/systemd/system/php-fpm.service; enabled; vendor pre>

Active: active (running) since Wed 2019-12-18 21:56:45 CET; 39s ago

Main PID: 13026 (php-fpm)

Status: "Processes active: 0, idle: 5, Requests: 0, slow: 0, Traffic: 0req/s>

Tasks: 6 (limit: 24012)

Memory: 22.9M

CGroup: /system.slice/php-fpm.service

├─13026 php-fpm: master process (/etc/php-fpm.conf)

├─13027 php-fpm: pool www

├─13028 php-fpm: pool www

├─13029 php-fpm: pool www

├─13030 php-fpm: pool www

└─13031 php-fpm: pool www
dic 18 21:56:45 zabbix01.negu.local systemd[1]: Starting The PHP FastCGI Proces>

dic 18 21:56:45 zabbix01.negu.local systemd[1]: Started The PHP FastCGI Process>
Añadimos la zona horaria en el php.ini:
[root@zabbix01 ~]# sed -i "s/^;date.timezone =$/date.timezone = \"Europe\/Madrid\"/" /etc/php.ini
Reiniciamos los servicios:
[root@zabbix01 ~]# systemctl restart httpd php-fpm
Instalación MySQL para Zabbix
Lanzamos la instalación de los paquetes:
[root@zabbix01 ~]# dnf module install mariadb
Confirmamos la versión de MySQL:
[root@zabbix01 ~]# rpm -qi mariadb-server

Name        : mariadb-server

Epoch       : 3

Version     : 10.3.11

Release     : 2.module_el8.0.0+35+6f2527ed

Architecture: x86_64

Install Date: mié 18 dic 2019 22:07:41 CET

Group       : Unspecified

Size        : 87882910

License     : GPLv2 with exceptions and LGPLv2 and BSD.

Signature   : RSA/SHA256, mié 31 jul 2019 02:20:16 CEST, Key ID 05b555b38483c65d

Source RPM  : mariadb-10.3.11-2.module_el8.0.0+35+6f2527ed.src.rpm

Build Date  : lun 24 jun 2019 16:25:45 CEST

Build Host  : x86-02.mbox.centos.org

Relocations : (not relocatable)

Packager    : CentOS Buildsys <bugs@centos.org>

Vendor      : CentOS

URL         : http://mariadb.org

Summary     : The MariaDB server and related files

Description :

MariaDB is a multi-user, multi-threaded SQL database server. It is a

client/server implementation consisting of a server daemon (mysqld)

and many different client programs and libraries. This package contains

the MariaDB server and some accompanying files and directories.

MariaDB is a community developed branch of MySQL.
Habilitamos el servicio:
[root@zabbix01 ~]# systemctl enable --now mariadb

Created symlink /etc/systemd/system/mysql.service → /usr/lib/systemd/system/mariadb.service.

Created symlink /etc/systemd/system/mysqld.service → /usr/lib/systemd/system/mariadb.service.

Created symlink /etc/systemd/system/multi-user.target.wants/mariadb.service → /usr/lib/systemd/system/mariadb.service.
Realizamos la primera configuración:
[root@zabbix01 ~]# mysql_secure_installation
NOTE: RUNNING ALL PARTS OF THIS SCRIPT IS RECOMMENDED FOR ALL MariaDB

SERVERS IN PRODUCTION USE!  PLEASE READ EACH STEP CAREFULLY!
In order to log into MariaDB to secure it, we'll need the current

password for the root user.  If you've just installed MariaDB, and

you haven't set the root password yet, the password will be blank,

so you should just press enter here.
Enter current password for root (enter for none):

OK, successfully used password, moving on...
Setting the root password ensures that nobody can log into the MariaDB

root user without the proper authorisation.
Set root password? [Y/n] Y

New password:

Re-enter new password:

Password updated successfully!

Reloading privilege tables..

... Success!
By default, a MariaDB installation has an anonymous user, allowing anyone

to log into MariaDB without having to have a user account created for

them.  This is intended only for testing, and to make the installation

go a bit smoother.  You should remove them before moving into a

production environment.
Remove anonymous users? [Y/n] Y

... Success!
Normally, root should only be allowed to connect from 'localhost'.  This

ensures that someone cannot guess at the root password from the network.
Disallow root login remotely? [Y/n] Y

... Success!
By default, MariaDB comes with a database named 'test' that anyone can

access.  This is also intended only for testing, and should be removed

before moving into a production environment.
Remove test database and access to it? [Y/n] Y

- Dropping test database...

... Success!

- Removing privileges on test database...

... Success!
Reloading the privilege tables will ensure that all changes made so far

will take effect immediately.
Reload privilege tables now? [Y/n] Y

... Success!
Cleaning up...
All done!  If you've completed all of the above steps, your MariaDB

installation should now be secure.
Thanks for using MariaDB!
Volvemos a validar:
[root@zabbix01 ~]# mysql -u root -p

Enter password:

Welcome to the MariaDB monitor.  Commands end with ; or \g.

Your MariaDB connection id is 19

Server version: 10.3.11-MariaDB MariaDB Server
Copyright (c) 2000, 2018, Oracle, MariaDB Corporation Ab and others.
Type 'help;' or '\h' for help. Type '\c' to clear the current input statement.
MariaDB [(none)]> SELECT VERSION();

+-----------------+

| VERSION()       |

+-----------------+

| 10.3.11-MariaDB |

+-----------------+

1 row in set (0.000 sec)
Generamos una base de datos para Zabbix:
MariaDB [(none)]> CREATE DATABASE zabbix;

Query OK, 1 row affected (0.001 sec)
MariaDB [(none)]> GRANT ALL PRIVILEGES ON zabbix.* TO zabbix@'localhost' IDENTIFIED BY 'contraseñazabbixbd';

Query OK, 0 rows affected (0.001 sec)
MariaDB [(none)]> FLUSH PRIVILEGES;

Query OK, 0 rows affected (0.001 sec)
MariaDB [(none)]> QUIT;

Bye
Instalación Zabbix Server en linux Centos 8
Instalamos el repo de Zabbix:
[root@zabbix01 ~]# dnf -y install https://repo.zabbix.com/zabbix/4.4/rhel/8/x86_64/zabbix-release-4.4-1.el8.noarch.rpm
Y bajamos los paquetes necesarios:
[root@zabbix01 ~]# dnf -y install zabbix-server-mysql zabbix-agent zabbix-web-mysql
Como dejo todo en la misma máquina, importamos el schema para no tener problemas:
[root@zabbix01 ~]# zcat /usr/share/doc/zabbix-server-mysql*/create.sql.gz | mysql -u zabbix -p zabbix

Enter password:
Editamos el fichero de conexión a la base de datos y agregamos las líneas:
[root@zabbix01 ~]# vi /etc/zabbix/zabbix_server.conf
DBName=zabbix

DBUser=zabbix

DBPassword=contraseñabdzabbix
Habilitamos los servicios:
[root@zabbix01 ~]# systemctl enable --now zabbix-server zabbix-agent

Created symlink /etc/systemd/system/multi-user.target.wants/zabbix-server.service → /usr/lib/systemd/system/zabbix-server.service.

Created symlink /etc/systemd/system/multi-user.target.wants/zabbix-agent.service → /usr/lib/systemd/system/zabbix-agent.service.
Ajustamos los valores de php:
[root@zabbix01 ~]# vi /etc/php.ini
memory_limit 128M

upload_max_filesize 8M

post_max_size 16M

max_execution_time 300

max_input_time 300

max_input_vars 10000
Habilitamos reglas para el firewall:
[root@zabbix01 ~]# firewall-cmd --add-service=http --permanent

[root@zabbix01 ~]# firewall-cmd --add-port={10051,10050}/tcp --permanent

[root@zabbix01 ~]# firewall-cmd --reload
Reiniciamos servicios:
[root@zabbix01 ~]# systemctl restart httpd php-fpm
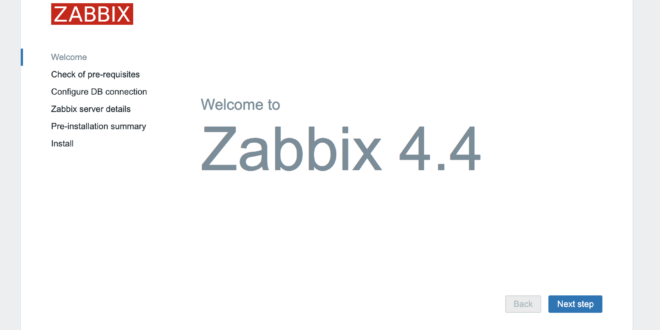
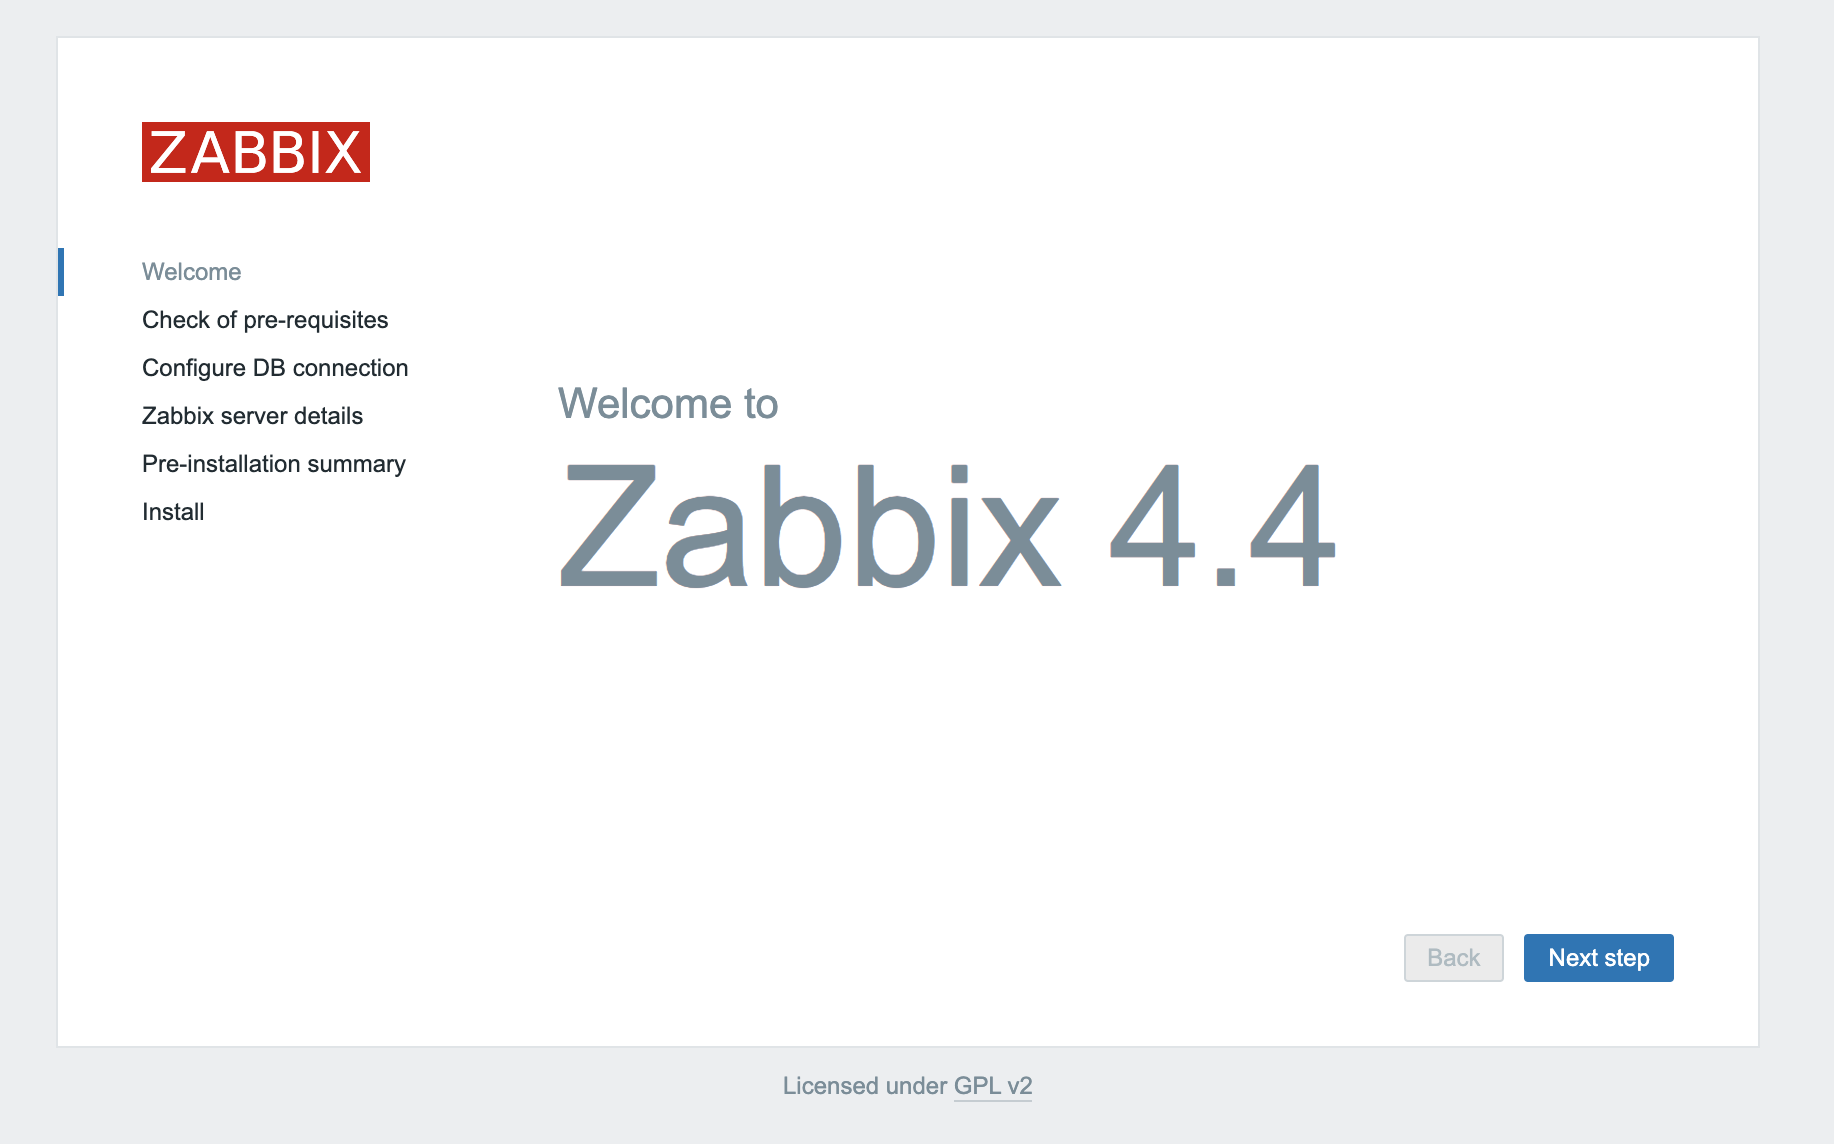
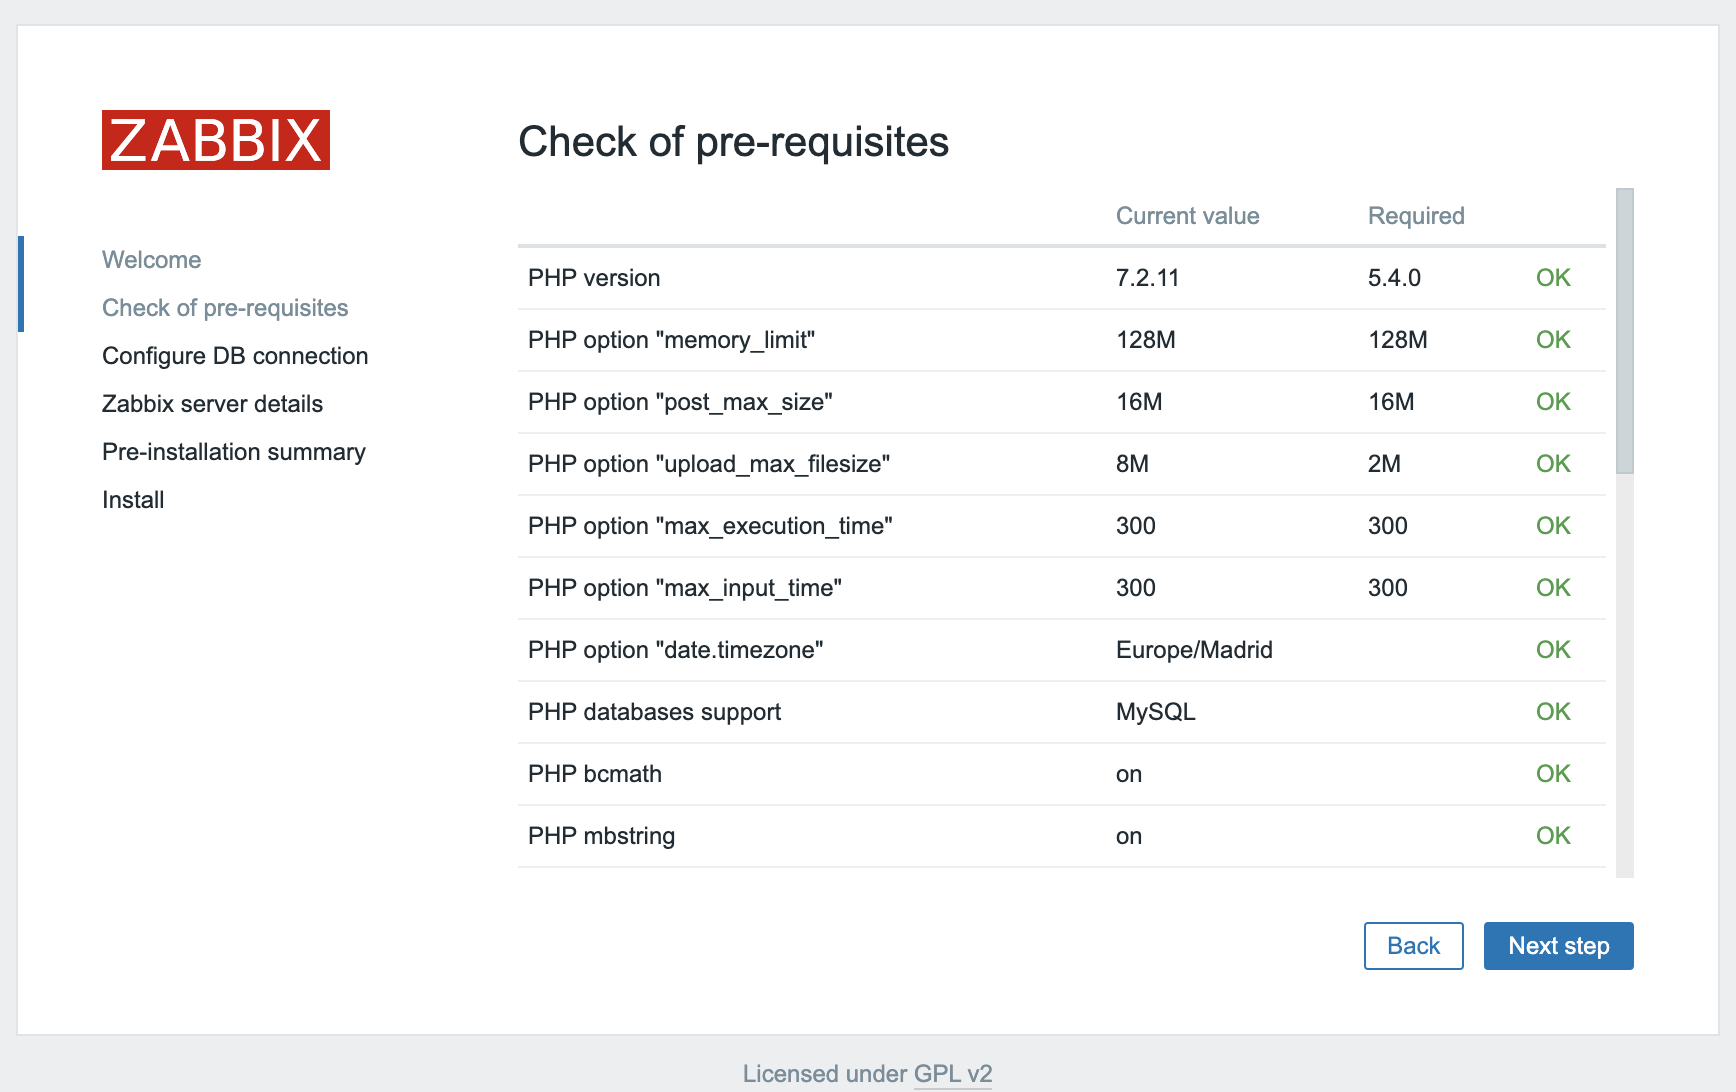
Y vamos al navegador para comprobar que ya tenemos Zabbix levantado:
Revisamos que cumplimos todos los requisitos:
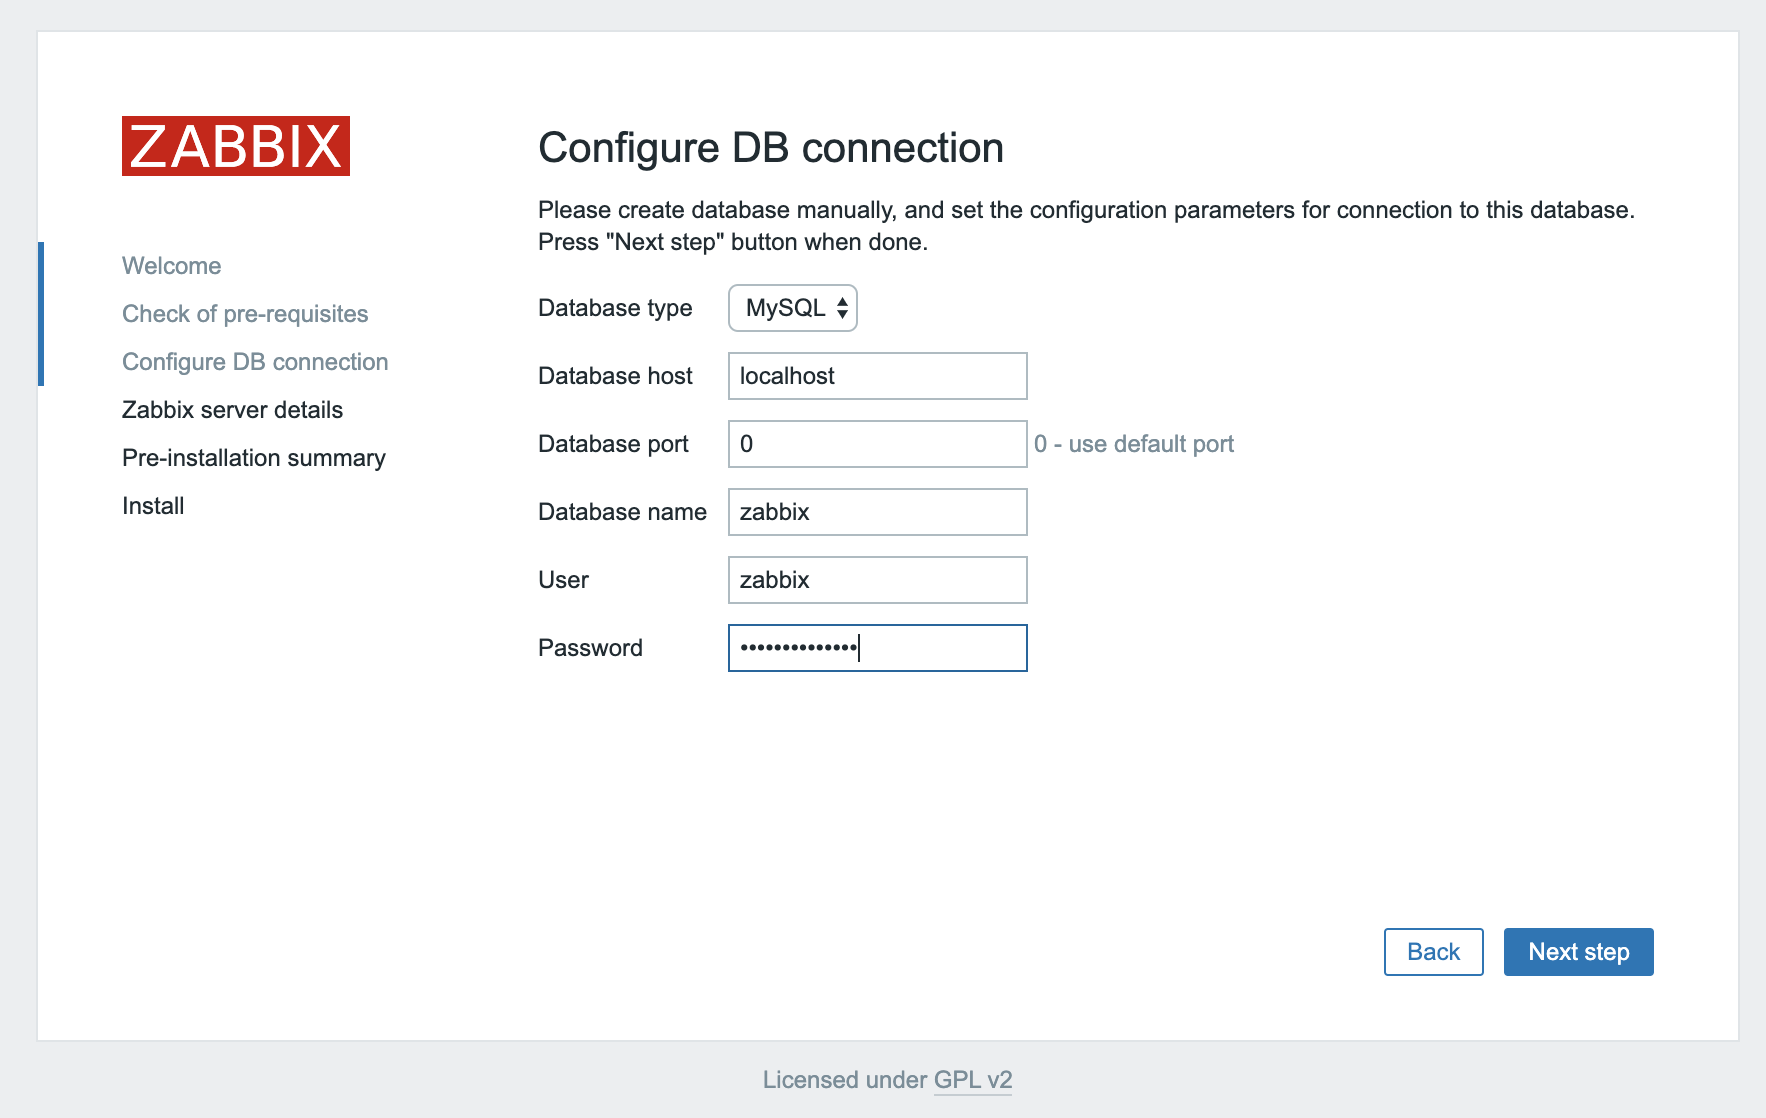
Introducimos la password para la DB Connection:
Y ahora elegimos la IP o el nombre del host donde nos conectaremos:
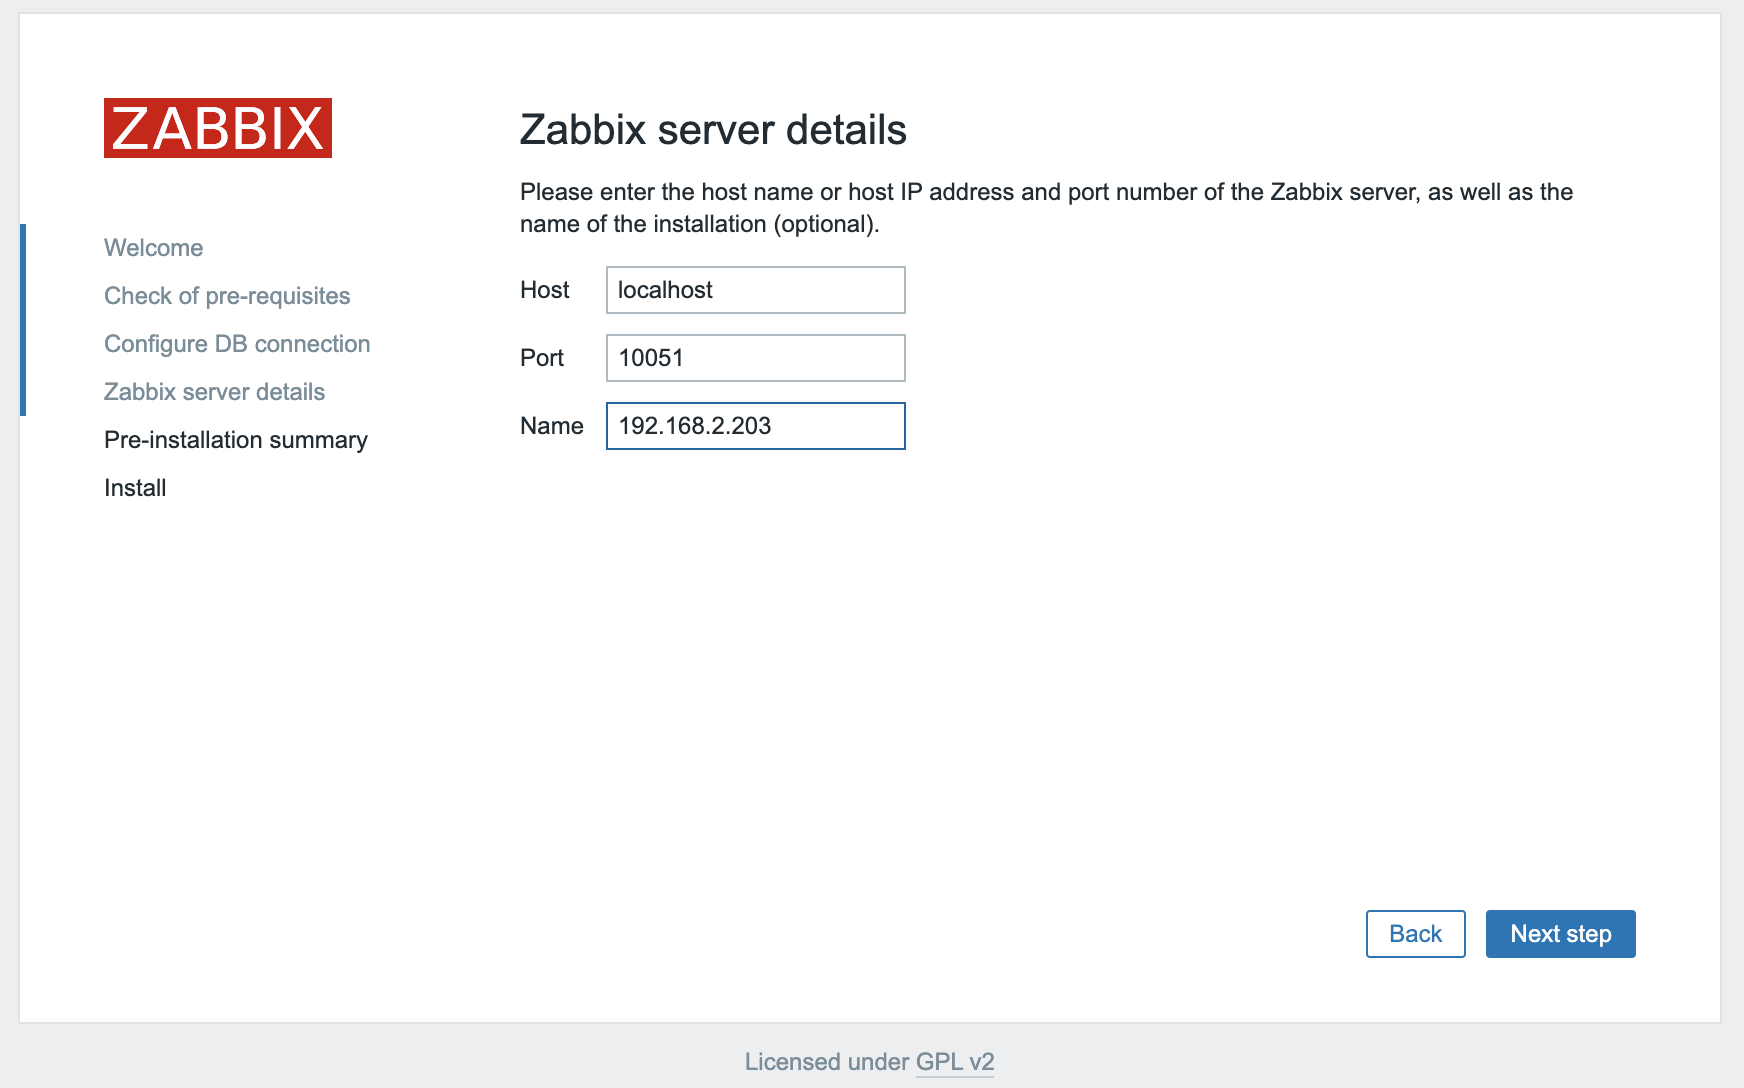
Pulsamos Next step:

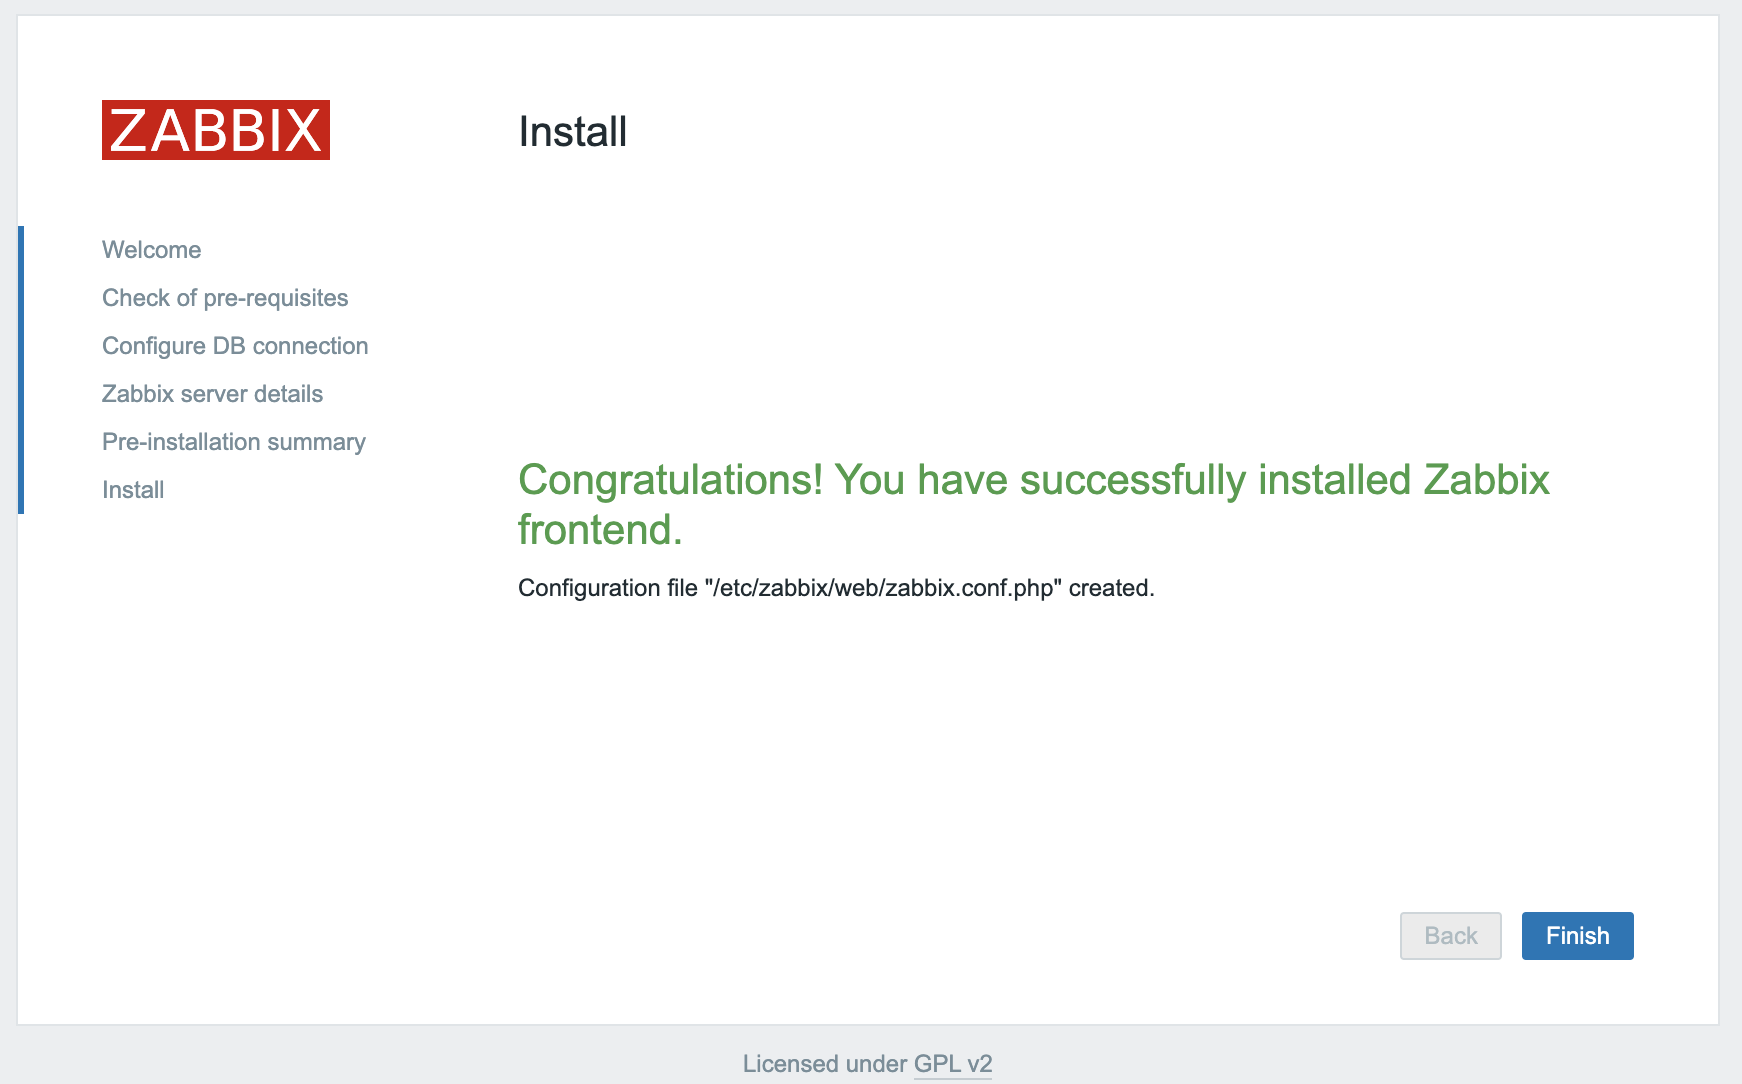
Pulsamos Finish:
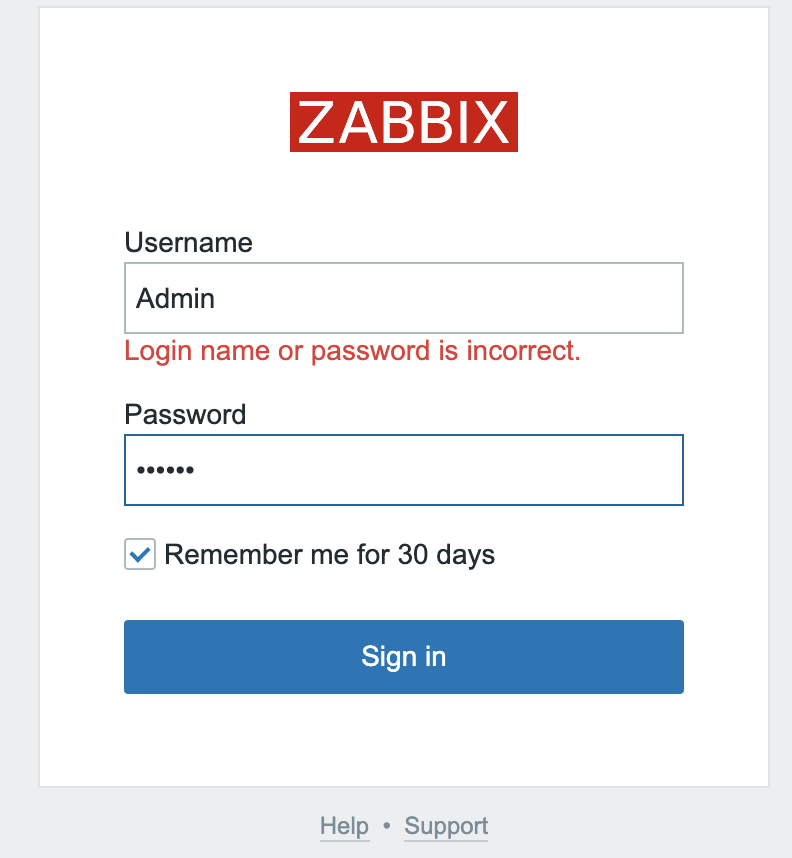
El usuario es Admin/zabbix por defecto:
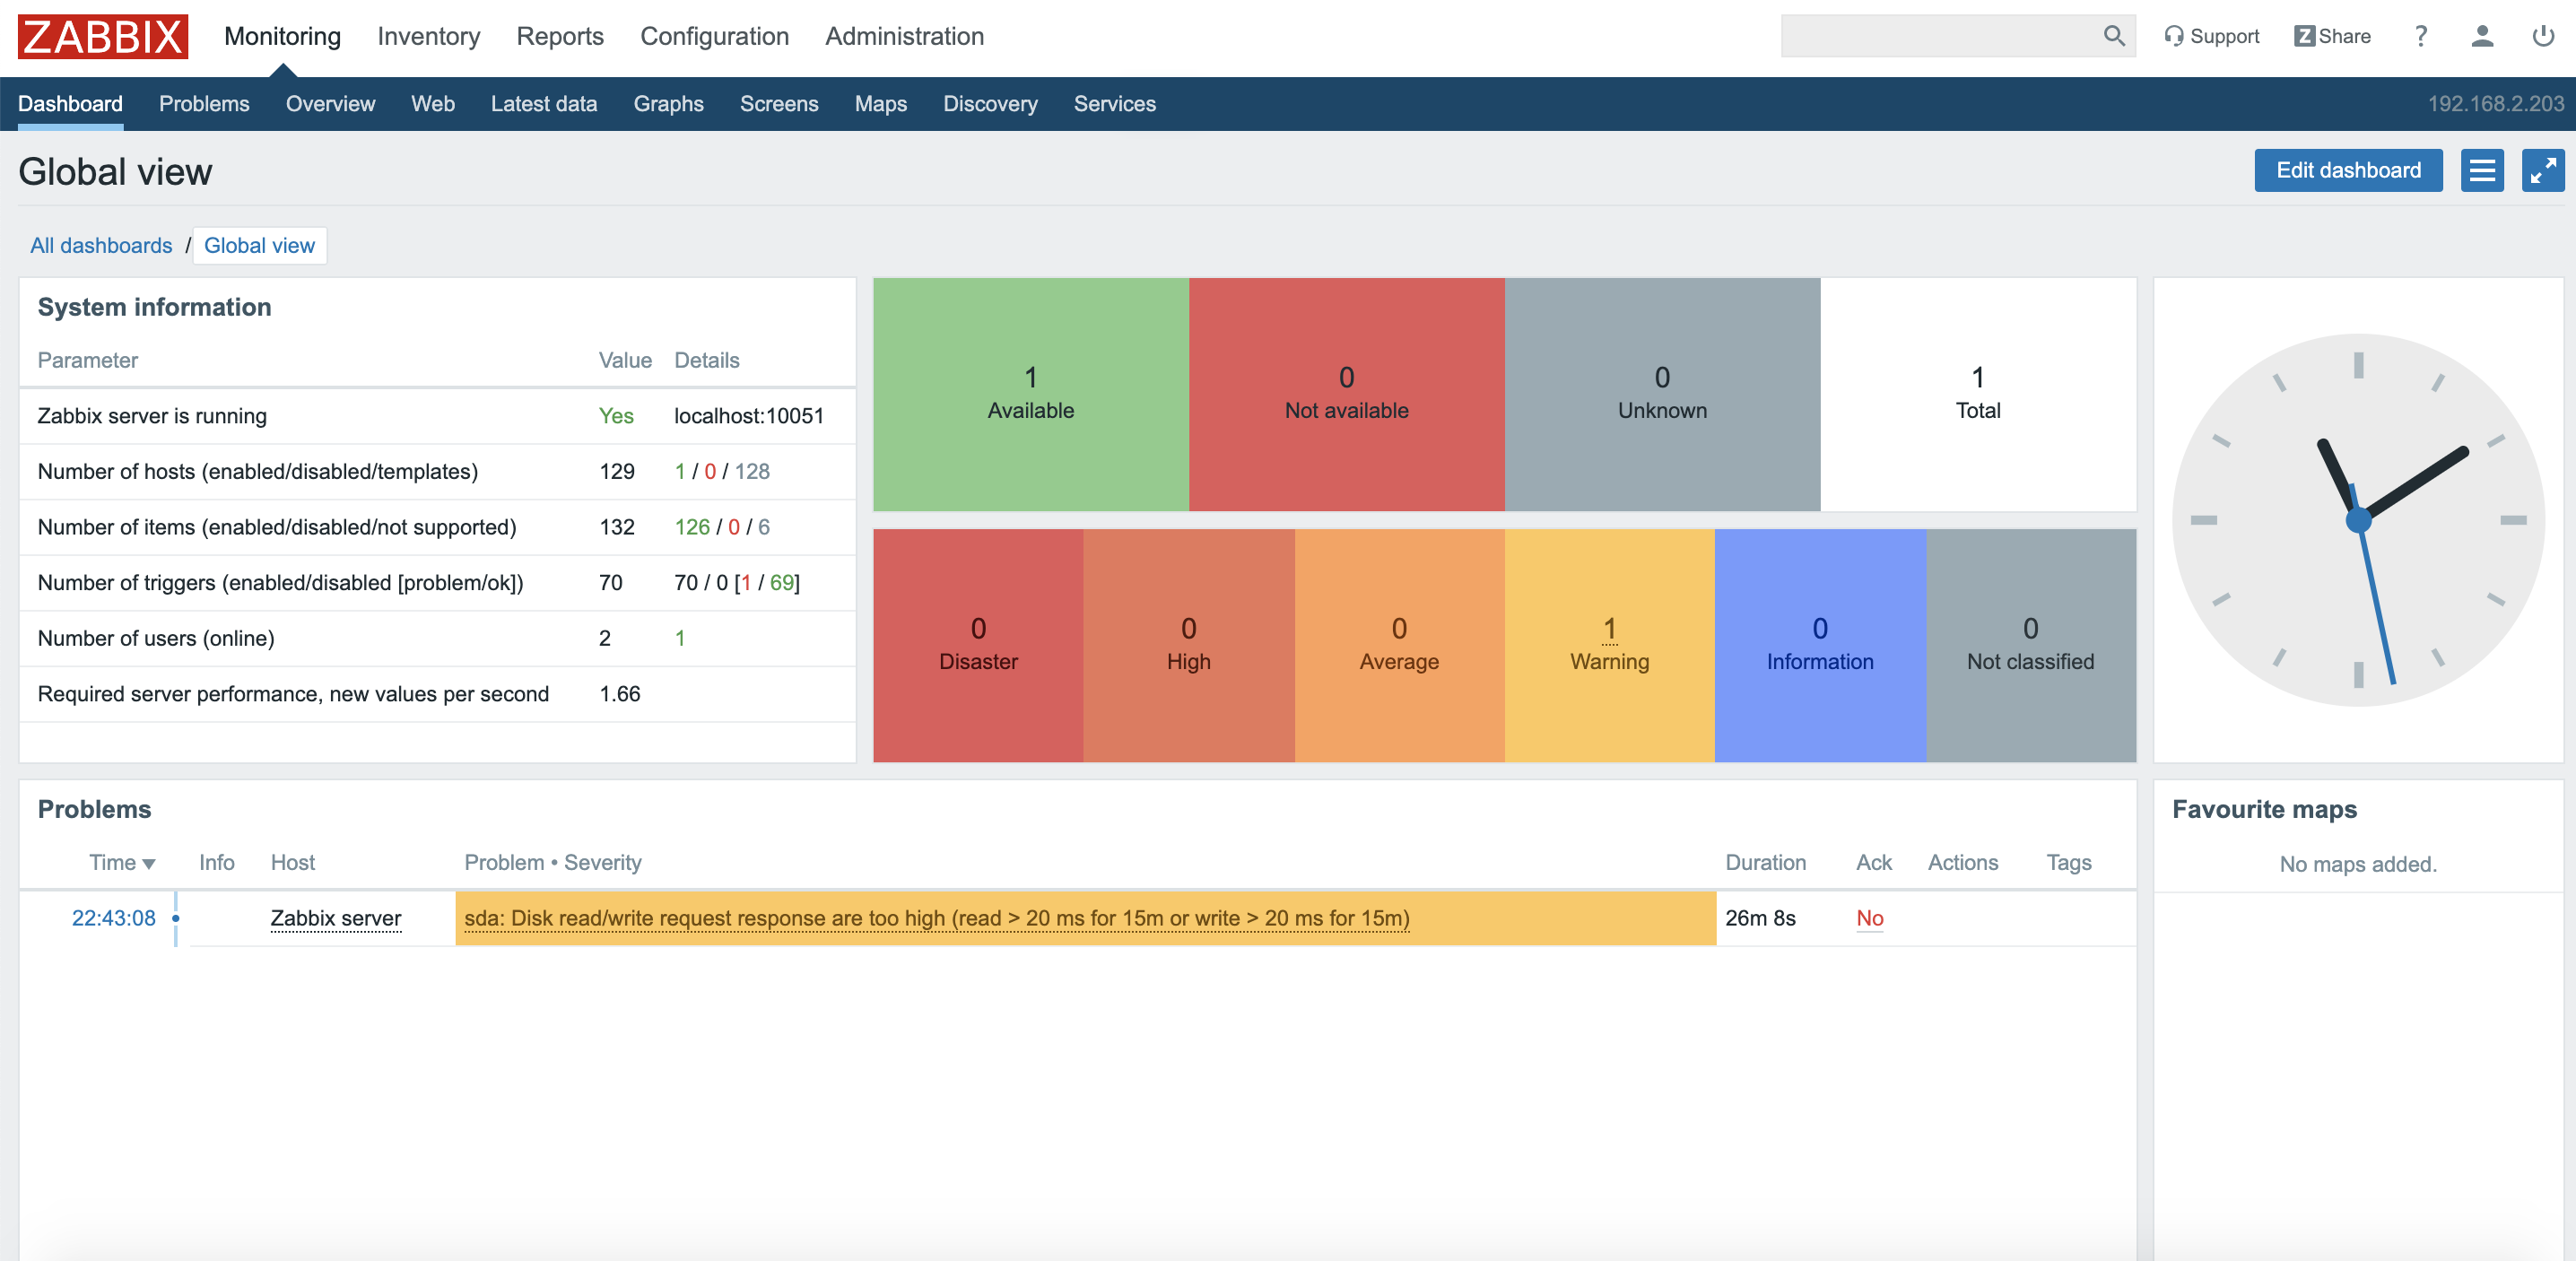
Ya tenemos acceso al dashboard. Ahora hay que alimentarlo:
¿Te ha gustado la entrada SÍGUENOS EN TWITTER?
¿Te ha gustado la entrada SÍGUENOS EN TWITTER O INVITANOS A UN CAFE?

Excelente, gracias por su aporte