 Blog Virtualizacion Tu Blog de Virtualización en Español. Maquinas Virtuales (El Blog de Negu) en castellano. Blog informática vExpert Raul Unzue

Artículos relacionados

Certificado Lets Encrypt en VMware vCenter
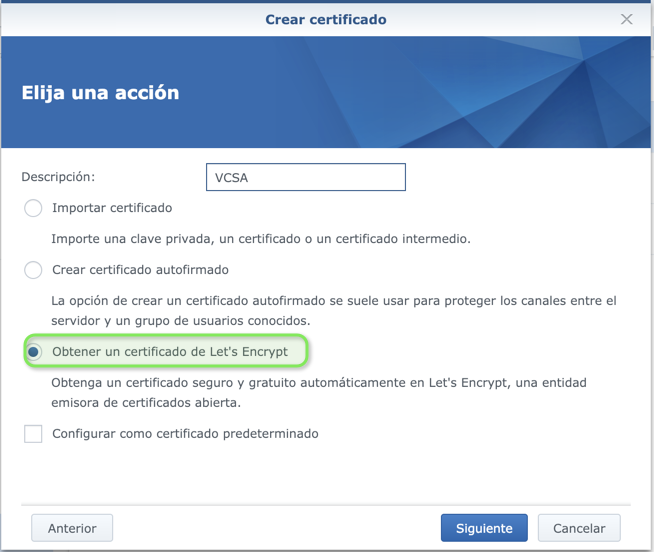
Voy a mostraros como utilizar un certificado Lets Encrypt para nuestro VMware vCenter. Para ello voy a utilizar mi Synology para generar el certificado. Vosotros podéis utilizar un servidor linux, un panel Plesk…, por ejemplo.
Así que nos conectamos a nuestra Synology y vamos al apartado Panel de control — Seguridad — Certificado — Crear certificado
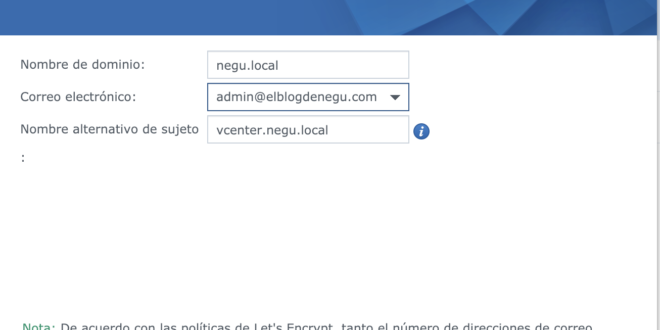
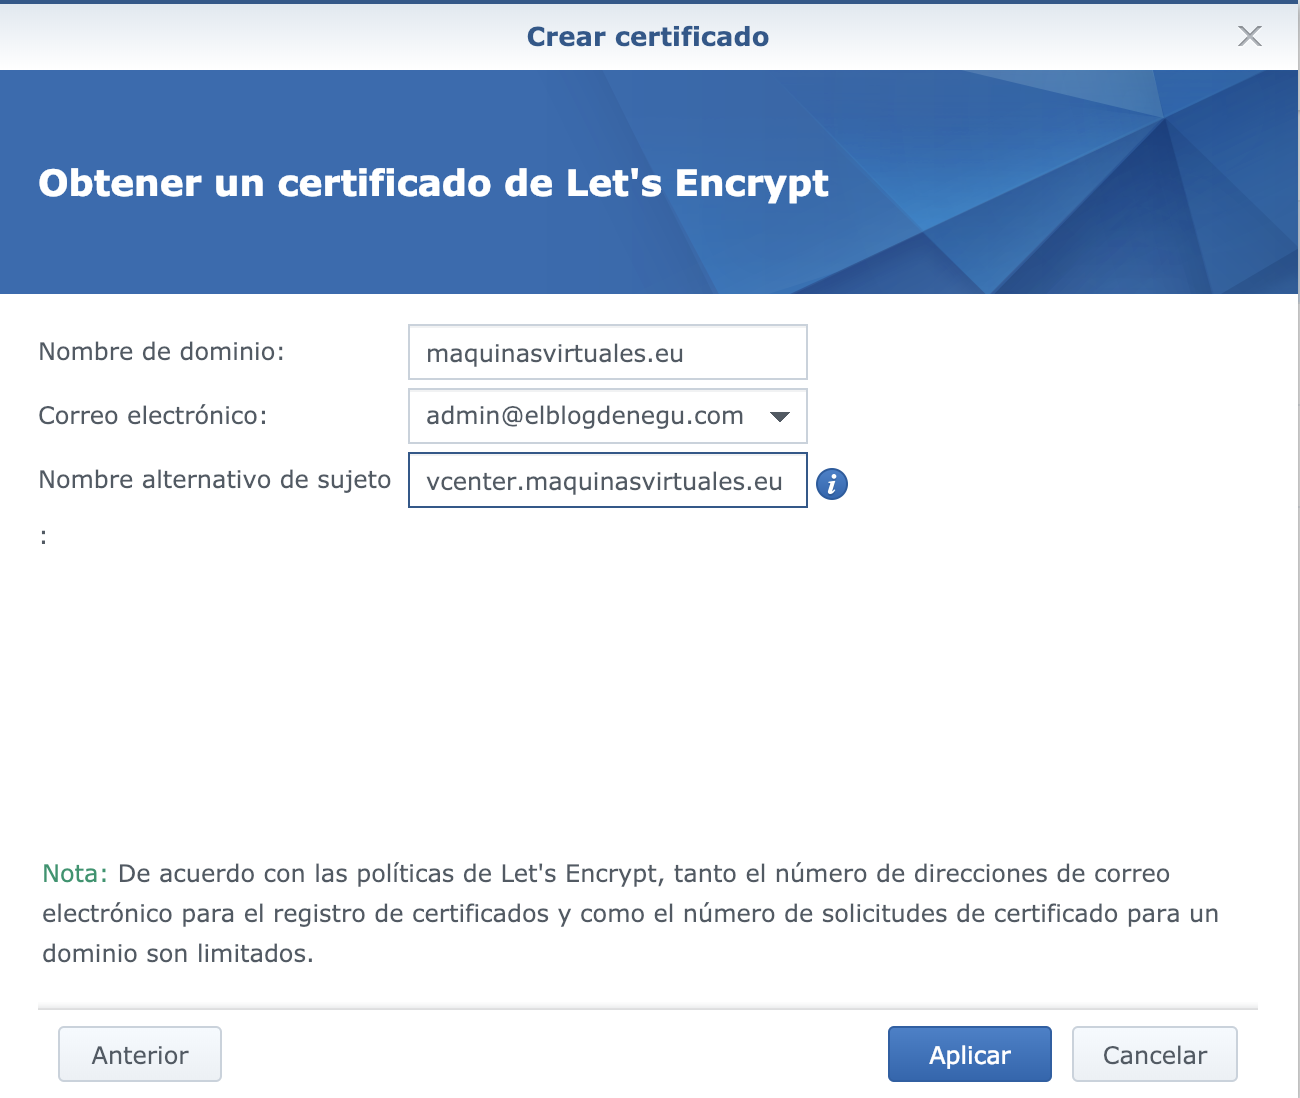
Damos un nombre de dominio:
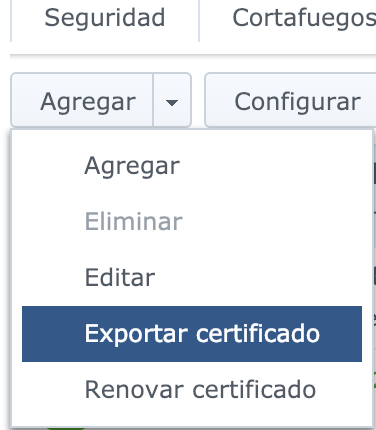
Exportamos los ficheros necesarios:
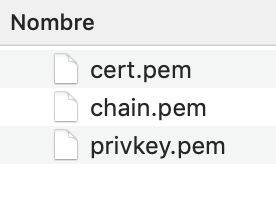
Estos son los ficheros (cert.pem, chain.pem y privkey.pem):
Tendremos que tener acceso SSH sobre nuestro vCenter. Subimos los ficheros a través de una consola o filezilla por ejemplo a nuestro vCenter:
|
1 2 3 4 5 6 7 8 9 10 11 12 13 14 |
Last login: Wed Feb 6 21:06:14 on console MacBook-Pro-de-Raul:~ raulunzue$ ssh root@192.168.2.54 VMware vCenter Server Appliance 6.7.0.20100 Type: vCenter Server with an embedded Platform Services Controller root@192.168.2.54's password: Connected to service * List APIs: "help api list" * List Plugins: "help pi list" * Launch BASH: "shell" |
Escribimos shell:
|
1 |
Command> shell |
Lanzamos el comando para modificar los certificados:
|
1 2 3 4 5 6 7 8 9 10 11 12 13 14 15 16 17 18 19 20 21 22 23 24 25 26 27 28 29 30 31 |
Command> shell Shell access is granted to root root@photon-machine [ ~ ]# /usr/lib/vmware-vmca/bin/certificate-manager _ _ _ _ _ _ _ _ _ _ _ _ _ _ _ _ _ _ _ _ _ _ _ _ _ _ _ _ _ _ _ _ _ _ _ | | | *** Welcome to the vSphere 6.7 Certificate Manager *** | | | | -- Select Operation -- | | | | 1. Replace Machine SSL certificate with Custom Certificate | | | | 2. Replace VMCA Root certificate with Custom Signing | | Certificate and replace all Certificates | | | | 3. Replace Machine SSL certificate with VMCA Certificate | | | | 4. Regenerate a new VMCA Root Certificate and | | replace all certificates | | | | 5. Replace Solution user certificates with | | Custom Certificate | | | | 6. Replace Solution user certificates with VMCA certificates | | | | 7. Revert last performed operation by re-publishing old | | certificates | | | | 8. Reset all Certificates | |_ _ _ _ _ _ _ _ _ _ _ _ _ _ _ _ _ _ _ _ _ _ _ _ _ _ _ _ _ _ _ _ _ _ _| Note : Use Ctrl-D to exit. Option[1 to 8]: 1 |
Escribimos 1 y nos pedirá el administrador del vCenter. Y seleccionamos el número 2:
|
1 2 3 4 5 6 7 8 |
Please provide valid SSO and VC privileged user credential to perform certificate operations. Enter username [Administrator@vsphere.local]: Enter password: 1. Generate Certificate Signing Request(s) and Key(s) for Machine SSL certificate 2. Import custom certificate(s) and key(s) to replace existing Machine SSL certificate Option [1 or 2]: 2 |
Escribimos las rutas de cert.pem y privkey.pem.
|
1 2 3 4 5 |
Please provide valid custom certificate <span class="k">for </span>Machine SSL. File : /root/cert.pem Please provide valid custom key <span class="k">for </span>Machine SSL. File : /root/privkey.pem |
También nos pedirá “signing certificate of the Machine SSL certificate”
|
1 2 3 4 5 6 7 8 9 10 |
Please provide the signing certificate of the Machine SSL certificate File : /root/fullchain.pem You are going to replace Machine SSL cert using custom cert Continue operation : Option[Y/N] ? : Y Command Output: /root/cert.pem: OK Get site nameCompleted <span class="o">[</span>Replacing Machine SSL Cert...] default-site Lookup all services |
Confirmamos y empezará a actualizar servicios.
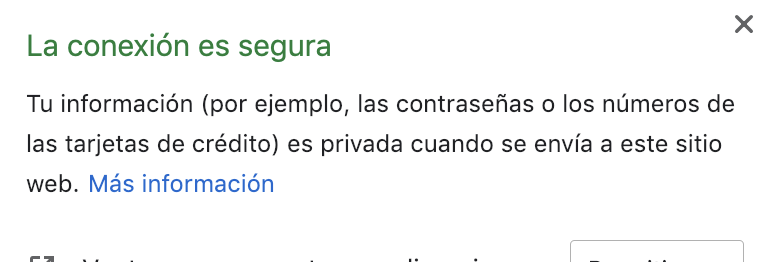
Ahora cuando entremos a nuestro vCenter veremos un bonito candado verde:
¿Te ha gustado la entrada SÍGUENOS EN TWITTER?
¿Te ha gustado la entrada SÍGUENOS EN TWITTER O INVITANOS A UN CAFE?