Vamos a instalar Red Hat Enterprise Virtualization Manager que es la herramienta de gestión centralizada en una infraestructura de virtualización de Red Hat. Este servicio permite al administrador gestionar la infraestructura a través de un interfaz web, configurar los host, añadir almacenamiento, definir redes, crear máquinas virtuales…
También permite el acceso de los usuarios a sus máquinas virtuales.
Instalación del sistema
- Instalamos un servidor con Red Hat Enterprise Linux 6.5 seleccionando la opción de Servidor básico.
- Asignamos un nombre y una dirección IP fija. En mi caso los datos son:
- Nombre: REDHAT01.negu.local
- IP: 10.0.6.1/16
Configuración de canales y repositorios
Uno de los primeros pasos es registrar el sistema en Red hat Network y asignar los canales y repositorios que nos permitirán tener acceso a los paquetes necesarios para realizar la instalación.
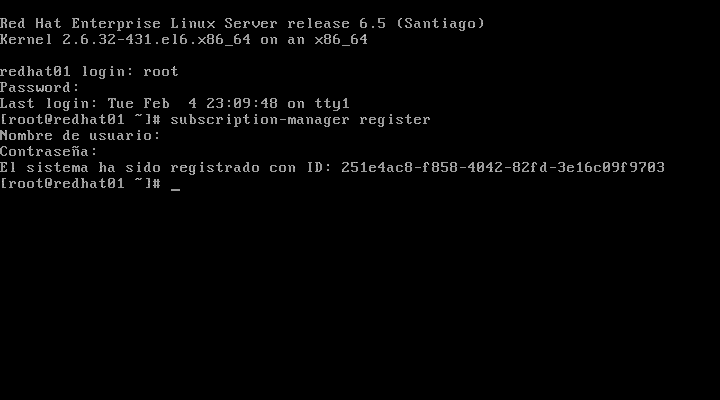
- Registramos el sistema en RedHat con el siguiente comando
|
1 |
subscription-manager register |
- Asignamos los dos canales
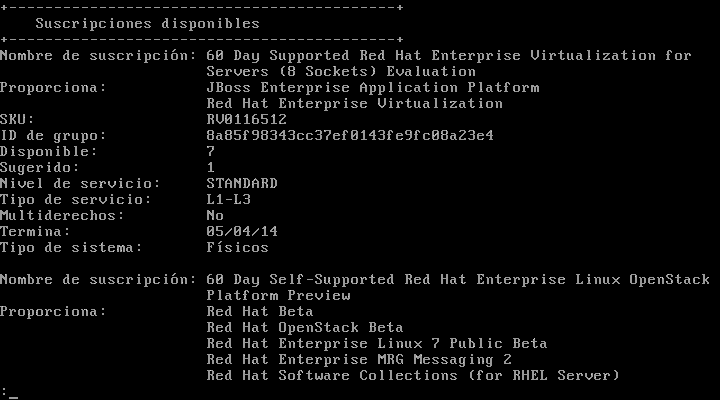
- Red Hat Enterprise Virtualization for Servers
- Red Hat Enterprise Linux OpenStack Platform Preview
- Ejecutamos el siguiente comando para obtener los identificados de los dos canales
|
1 |
subscription-manager list --available |
- Añadimos cada canal indicando el ID
|
1 |
subscription-manager attach --pool=<em><code>POOLID</code></em> |
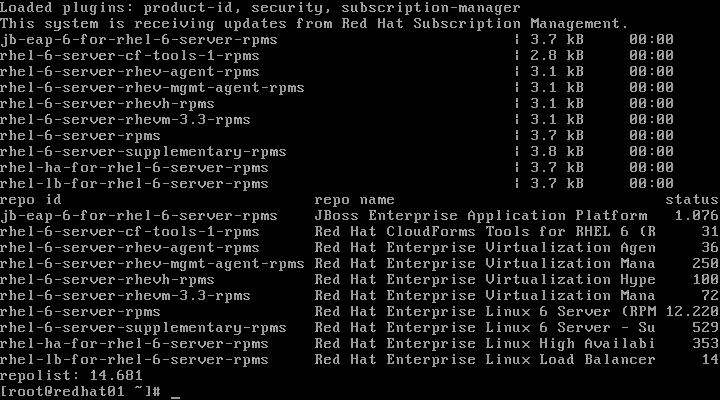
Añadimos los repositorios
- rhel-6-server-rhev-rpms
- rhel-6-server-rhevm-3.3-rpms
- jb-eap-6-for-rhel-6-server-rpms
- rhel-x86_64 -server-supplementary-6
|
1 |
<strong><code>yum-config-manager --enable </code></strong><em><code>REPO_NAME</code></em> |
- Actualizamos el sistema
|
1 |
yum -y update |
Instalación de Red Hat Enterprise Virtualization Manager
- Utilizamos yum para instalar todos los paquetes necesarios, con el siguiente comando
|
1 |
yum -y install rhevm |
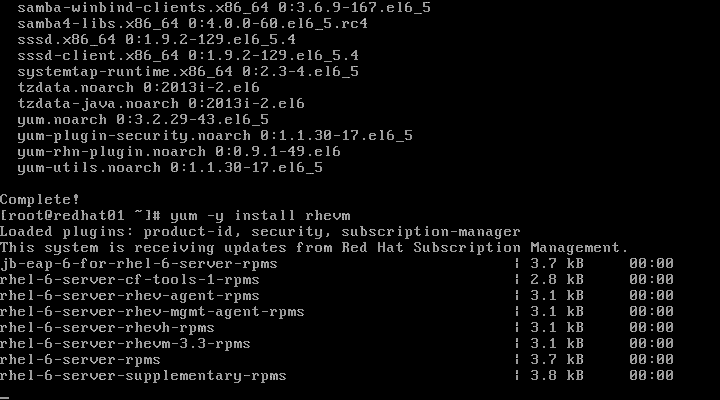
- Cuando termina la instalación ejecutamos el siguiente comando para configurar los servicios.
|
1 |
engine-setup |
|
1 2 3 4 5 6 7 |
--== NETWORK CONFIGURATION ==-- Host fully qualified DNS name of this server [redhat01.negu.local]: Setup can automatically configure the firewall on this system. Note: automatic configuration of the firewall may overwrite current settings. Do you want Setup to configure the firewall? (Yes, No) [Yes]: |
|
1 2 3 4 5 6 7 8 9 10 11 12 13 |
--== DATABASE CONFIGURATION ==-- Where is the database located? (Local, Remote) [Local]: Setup can configure the local postgresql server automatically for the engine to run. This may conflict with existing applications. Would you like Setup to automatically configure postgresql, or prefer to perform that manually? (Automatic, Manual) [Automatic]: --== OVIRT ENGINE CONFIGURATION ==-- Engine admin password: Confirm engine admin password: Application mode (Both, Virt, Gluster) [Both]: Default storage type: (NFS, FC, ISCSI, POSIXFS) [NFS]: --== PKI CONFIGURATION ==-- Organization name for certificate [negu.local]: |
|
1 2 3 4 5 6 7 8 9 |
--== APACHE CONFIGURATION ==-- Setup can configure the default page of the web server to present the application home page. This may conflict with existing applications. Do you wish to set the application as the default page of the web server? (Yes, No) [Yes]: Setup can configure apache to use SSL using a certificate issued from the internal CA. Do you wish Setup to configure that, or prefer to perform that manually? (Automatic, Manual) [Automatic]: |
|
1 2 3 4 5 6 |
--== SYSTEM CONFIGURATION ==-- Configure an NFS share on this server to be used as an ISO Domain? (Yes, No) [Yes]: Local ISO domain path [/var/lib/exports/iso]: Local ISO domain name [ISO_DOMAIN]: Configure WebSocket Proxy on this machine? (Yes, No) [Yes]: |
|
1 2 3 |
--== END OF CONFIGURATION ==-- Would you like transactions from the Red Hat Access Plugin sent from the RHEV Manager to be brokered through a proxy server? (Yes, No) [No] |
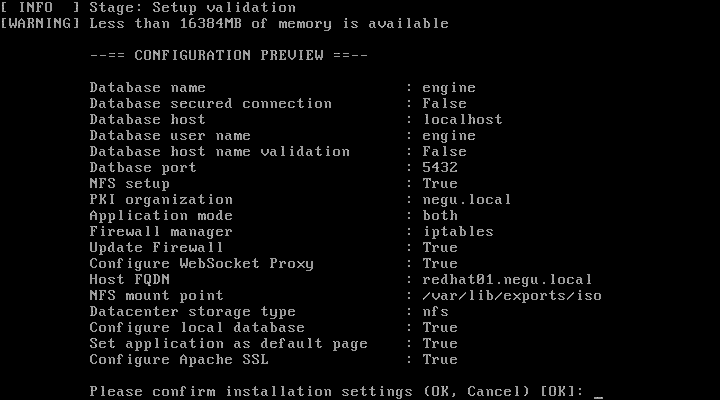
- Se nos muestra una ventana con las respuestas y la configuración que va a realizar
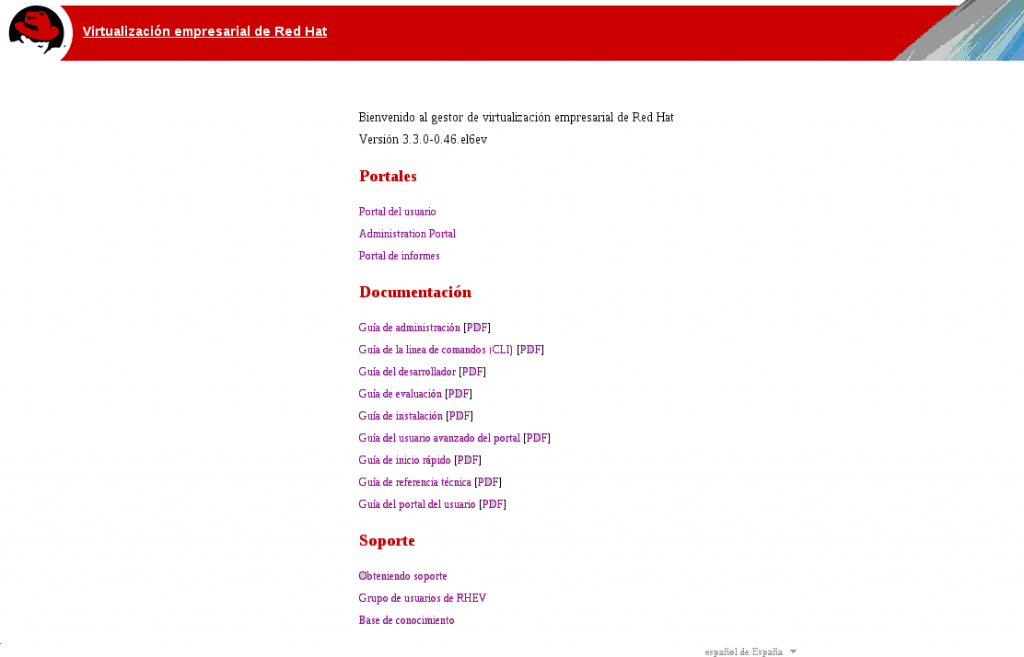
- Cuando termina el proceso ya tenemos Red Hat Enterprise Virtualization Manager instalado y ejecutándose. Ya podríamos acceder desde un navegador a la web de administración: http://redhat01.negu.local. Pinchamos en Administracion Portal
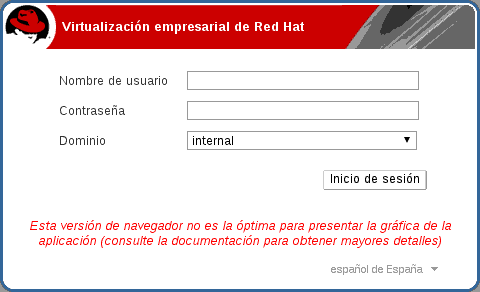
- Accedemos con el usuario admin, la contraseña indicada durante la instalación y el dominio internal.
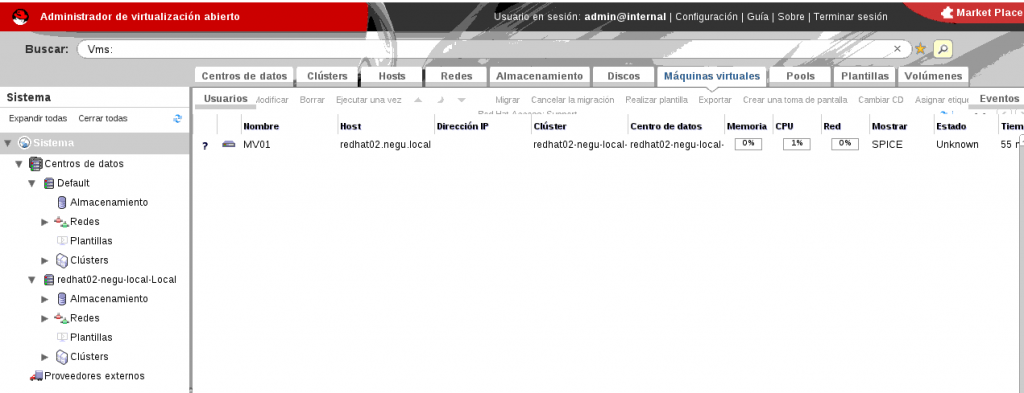
- Y accedemos al interfaz de administración de la infraestructura
¿Te ha gustado la entrada SÍGUENOS EN TWITTER O INVITANOS A UN CAFE?
 Blog Virtualizacion Tu Blog de Virtualización en Español. Maquinas Virtuales (El Blog de Negu) en castellano. Blog informática vExpert Raul Unzue

