 Blog Virtualizacion Tu Blog de Virtualización en Español. Maquinas Virtuales (El Blog de Negu) en castellano. Blog informática vExpert Raul Unzue


Artículos relacionados
Autenticación básica en Kibana
A continuación, os explicamos como configurar la autenticación básica en Kibana.
Colocar el puerto 5601 en NGINX
|
1 2 3 4 5 6 7 8 9 10 11 12 13 14 15 16 17 |
[root@KIBANA nginx]# cat kibana.conf server { listen 5601; server_name kibana.negu.local; location / { proxy_pass http://127.0.0.1:5601; proxy_http_version 1.1; proxy_set_header Upgrade $http_upgrade; proxy_set_header Connection 'upgrade'; proxy_set_header Host $host; proxy_cache_bypass $http_upgrade; auth_basic "Restricted Access"; auth_basic_user_file /etc/nginx/.kibana-user; } } |
Añadir en el fichero /etc/elasticsearch/elasticsearch.yml el siguiente parámetro:
|
1 |
xpack.security.enabled: true |
Lanzamos el configurador de ElasticSearch:
|
1 2 3 4 |
[root@KIBANA bin]# ./elasticsearch-setup-passwords interactive Initiating the setup of passwords for reserved users elastic,apm_system,kibana,logstash_system,beats_system,remote_monitoring_user. You will be prompted to enter passwords as the process progresses. Please confirm that you would like to continue [y/N]y |
|
1 2 3 4 5 6 7 8 9 10 11 12 13 14 15 16 17 18 19 20 21 22 23 24 25 26 27 28 |
Enter password for [elastic]: Reenter password for [elastic]: Enter password for [apm_system]: passwords must be at least [6] characters long Try again. Enter password for [apm_system]: passwords must be at least [6] characters long Try again. Enter password for [apm_system]: Reenter password for [apm_system]: Passwords do not match. Try again. Enter password for [apm_system]: Reenter password for [apm_system]: Enter password for [kibana]: Reenter password for [kibana]: Enter password for [logstash_system]: Reenter password for [logstash_system]: Enter password for [beats_system]: Reenter password for [beats_system]: Enter password for [remote_monitoring_user]: Reenter password for [remote_monitoring_user]: Changed password for user [apm_system] Changed password for user [kibana] Changed password for user [logstash_system] Changed password for user [beats_system] Changed password for user [remote_monitoring_user] Changed password for user [elastic] |
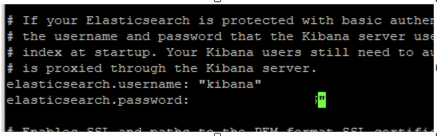
Modificaremos las líneas del usuario y password que hemos introducido en este paso anterior:
|
1 |
nano /etc/kibana/kibana.yml |
Agregamos los datos al logstash:
|
1 2 3 4 5 |
nano /etc/logstash/logstash.yml xpack.monitoring.enabled: enable xpack.monitoring.elasticsearch.username: logstash_system xpack.monitoring.elasticsearch.password: Password2020S |
Reiniciamos servicios:
|
1 2 3 4 |
[root@KIBANA bin]# systemctl restart elasticsearch [root@KIBANA bin]# systemctl restart kibana [root@KIBANA bin]# systemctl restart logstash [root@KIBANA bin]# systemctl restart nginx |
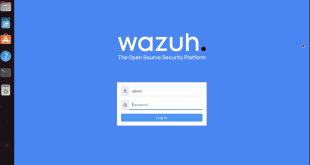
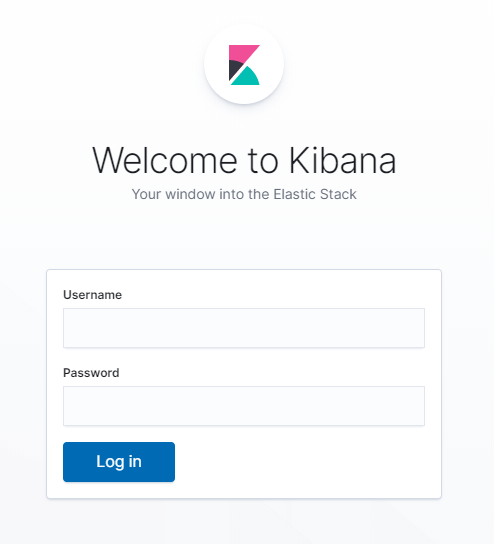
Cuando accederás a Kibana el acceso será con autenticación:
Espero os parezca interesante…
¿Te ha gustado la entrada SÍGUENOS EN TWITTER?
¿Te ha gustado la entrada SÍGUENOS EN TWITTER O INVITANOS A UN CAFE?

Buenas tardes,
He seguido este procedimiento he conseguido activar la Autenticación.
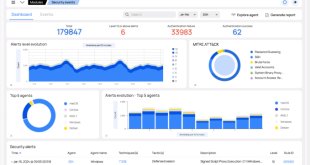
Pero los dasboard que tenía ahora no muestran los datos.
¿Me recomiendas revisar alguna configuración en concreto?
Buenos días, muy buen articulo. Una consulta ¿Cómo se puede indicar usuario y contraseña en la url para que pueda acceder a su espacio?
Gracias, un saludo